Jason KunkelJune 28th, 2016
Usually when you think of the word "half" you would correctly define it as 50%. But the word "halftone" probably just makes you think "gray". Not "half gray", or "50% gray", just "gray".
When you are working in Revit, you get several different places where you can define the appearance of elements as halftone. In the shipped templates Revit has gone ahead and set that at 50%. Because, you know, half.
But really, most of the time drafters didn't think of halftone as a literal half. And Revit has taken this into account and lets you adjust what your halftone is per project.
If you need to change your halftone, just go to the Manage tab, click on Additional Settings and find the Halftone/Underlay button. This brings up a very easy to use window with a slider for controlling what you need to define as halftone (usually I see these end up in the 60-65% range, but it kind of depends on how your plotter likes to handle grays).
[caption id="attachment_780" align="alignnone" width="362"]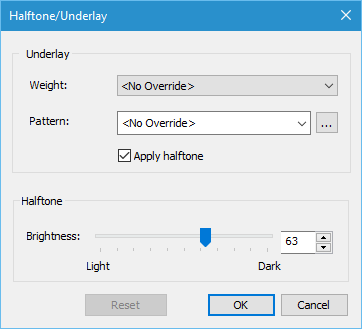 Underlay/Halftone dialog box[/caption]
And as a bonus, you can also control how your underlays show up on this window. See the "Apply Halftone" checkbox? That's why your underlays are halftone.
Most folks get the slider where they want it and save it in their project template. Pretty straightforward, but really useful for Revit to let us tweak our drawings and get them the way we need them to look.