The 2017 versions of Autodesk’s software are now available for download. Customers with an active subscription to Autodesk software can both download and acquire the serial number for their 2017 software by logging into the Autodesk Account website.
Downloading Your Software
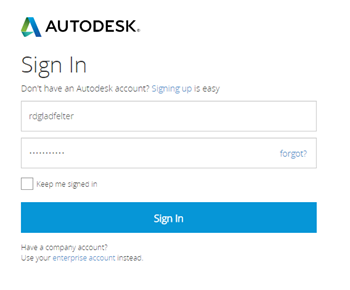
To download the 2017 version of your software:- Visit http://accounts.autodesk.com, and use your Autodesk ID to login.
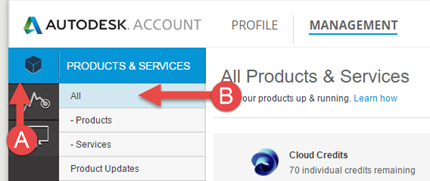
- Once logged in, navigate to the Management tab of the Autodesk Account site.

- Verify you are on the Products & Services page, and that All is selected. The App Products & Services page will display all of the Autodesk Software, services such as A360 tools, and subscription entitlements such as InfraWorks 360 LT.
- Depending on your software portfolio, the list of applications can be quite long. The Search tool can help locate a specific piece of software, Autodesk Building Design Suite Premium in this case.
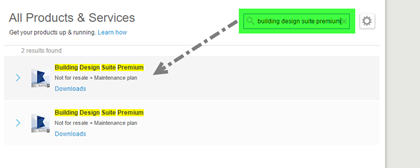
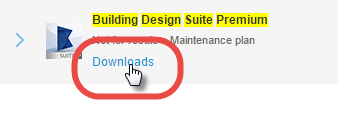
- Click the Downloads link directly under the product/service name to open the product/service information window.
- The product/service information window opens to the Download tab. From this window you can choose which version you wish to download. With an active subscription to an Autodesk product, you can download the current 2017 version plus the last three versions (2014-2016).
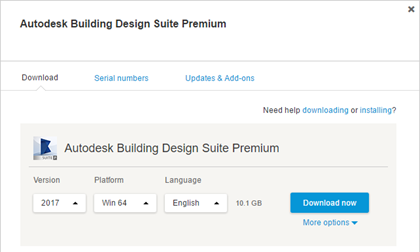 From this window you can choose how you would like to download your software:
- Download Now: Use the Autodesk Download Manager to download the full software installer. The Autodesk Download Manager reduces the time it takes to get your software by decompressing product files during the download. This download may be used on multiple machines, and it what’s recommended for most customers.
- Browser Download: Uses the download manager built into your browser. Once downloaded, you will have to decompress the files before installing your software. Although this method is typically slower than the Download Now option, this method is recommended should you have trouble with the Autodesk Download Manager. The resulting download may be used on multiple machines for deploying to your office.
- Install Now: Uses the Autodesk Download Manager to download a machine-specific version of the software installer. While the quickest method for downloading and installing your software, the installation must be completed in a single sitting, and the downloaded files are only useable on a single machine. This method is only recommended if you’re installing the software on a single machine with no plans to install the software on a second machine.
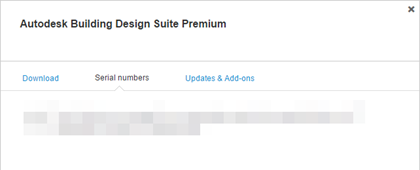
- Once downloaded, you can retrieve your 2017 serial number and product key from the Serial Numbers tab.
New Activation Process
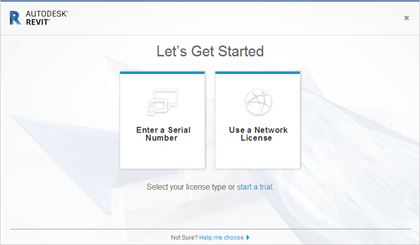
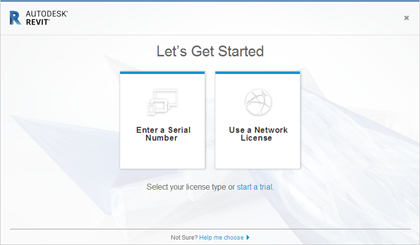
Although the installation process is practically identical to the 2016 version, one difference you’ll likely notice is the installer no longer prompts you for a serial number. The 2017 version of the software introduces a new activation and license management process whereby the serial number and license type are specified when you run the software for the first time. More specifically, you’ll see the following screen when you run your software for the first time:Choose the Enter a Serial Number option if you’re activating the standalone version of the software, or the Use a Network License if activating the network version of your software.
Changing License Types
In the past, the only supported way to change from the standalone version to the network version (or vice versa) was to uninstall and then reinstall your software – a time consuming process. Starting with the 2017 release you can now change between different license types whenever you would like.To change the type of license on your machine, do the following:
- Click the disclosure triangle next to the Help button on the Quick Access Toolbar, and choose About 2017 (About Autodesk Revit 2017 in this example)
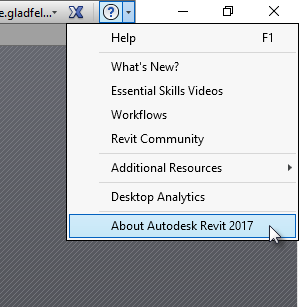
- Click the Manage License button in the lower right corner of the About (About Autodesk Revit 2017 in this example) dialog box.
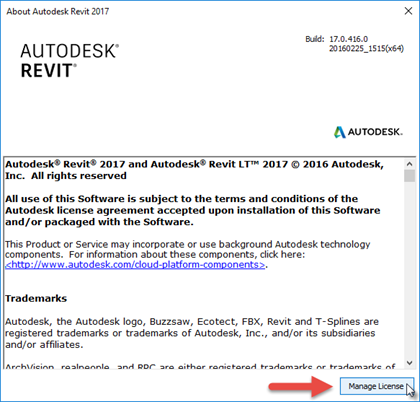
- Click Change License Type from the License Manager dialog box.
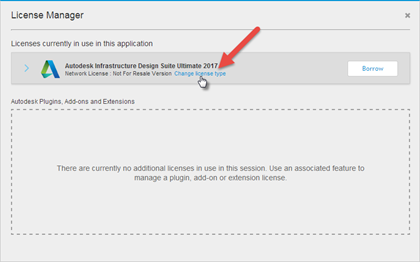
- Click the Change button from the Change License Type dialog.
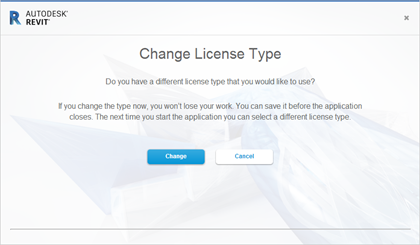
- Your software will close, and you will see the Let’s Get Started dialog allowing you to choose the desired license type the next time you launch the software.
