Michael ChappelMarch 1st, 2021
Beginner's Guide to Model Check Automation
If you use the Revit Model Checker to run periodic reports or checks on your model(s), or if you have a large number of models you need to check, you may have wondered if there is an easier way to accomplish this, without opening and running the checks on every single model individually. Fortunately, we recently added the ability for batch checking Revit Models in the Model Checker for Revit!The basic process looks like this:
- Create your XML File
- Place your configuration XML in the correct path
- Open Revit and watch as the model checker runs through each of the checks you set up in the XML
Creating the XML File
Open up a blank document in your text editor of choice. For our example we'll be using Windows Notepad.
Essentially the XML Config File is broken up into distinct nodes which allow you to build out as many models and check-sets as you need.
For example you might want to just have the Model Checker run periodically to generate a Model Checker Health Dashboard that you've already set up to run in the model, you can do it with something as simple as this:
<?xml version="1.0" encoding="utf-8" ?>

<AutomatedRun Cleanup="none">

  <Model Path="C:\\Some\\Path.rvt">
  </Model>

</AutomatedRun>
This will work as long as the check has already been set up in the Revit Model that we specify with the Model node and the Automation will by default run the selected check every time Revit is opened. In this we've set up the AutomatedRun node and used the required Cleanup attribute to keep the XML File so that the task runs each time Revit is open. This is useful on a machine like a server where Revit is run infrequently and you may even want to Automate the check further by utilizing Windows Task Scheduler.
But what if you wanted to check a model with a different check set than is set up in the model? Or more than one? You can do that by using a CheckSet node:
<?xml version="1.0" encoding="utf-8" ?>

<AutomatedRun Cleanup="delete">

  <Model Path="C:\\Some\\Path.rvt">

    <CheckSet Path="C:\\Some\\CheckSet.xml" ExportHtml="true" ExportExcel="true" HtmlFolder="C:\\Some\\Folder" ExcelPath="C:\\Some\\Path.xlsx" CheckLinks="true" />

  </Model>

</AutomatedRun>
In this case we've not only specified a Model to be run, but we've also specified a CheckSet to use with the model. This allows us to check a single model with multiple checks, or simply specify a different check than is set up in the model. You'll also notice for this check we opted to use the Cleanup attribute "delete." You can use this (along with "Move" and "Rename") to prevent the check to prevent the model checker from running every single time you open Revit.
A more detailed guide on configuring every Node and Attribute is available here:
Or the PDF version here: https://knowledge.autodesk.com/akn-aknsite-article-attachments/253a93d1-2e03-4ec5-ad88-8c212e5d65d6.pdf
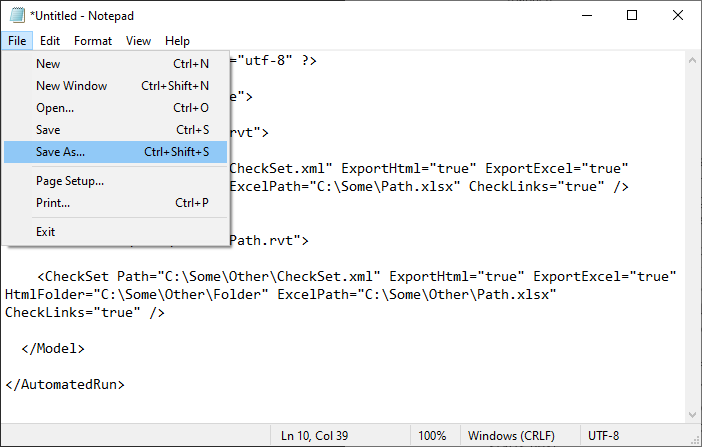
Saving the XML File
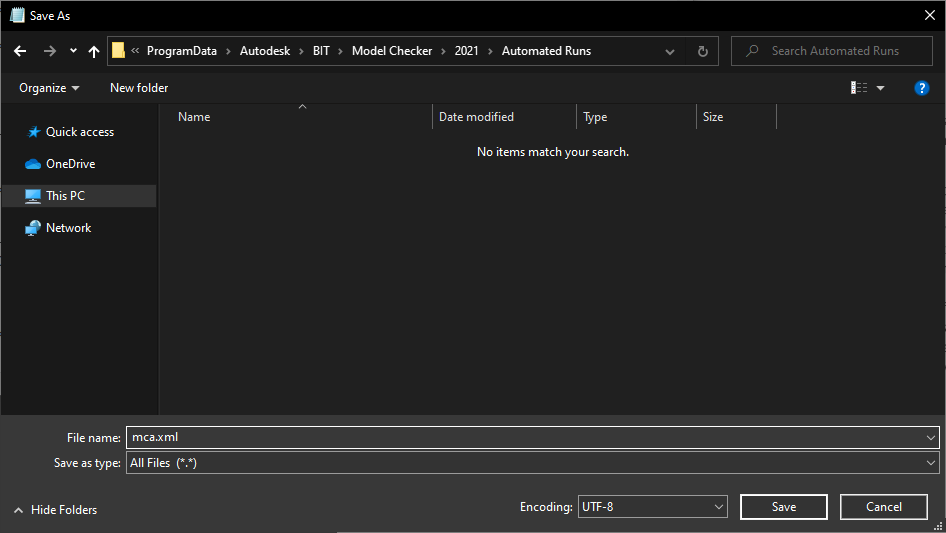
Once you have your XML File to your liking, simply save it to the following directory:%programdata%\\Autodesk\\BIT\\Model Checker\\REVIT YEAR\\Automated Runs
Name your file and make sure to include the .XML extension:
Click save and Voila! That's it for the config file! Now it's time to reap the rewards of your labor!
Running the Checks
Now we just need to Open Revit and watch in the status bar in the bottom left-hand corner.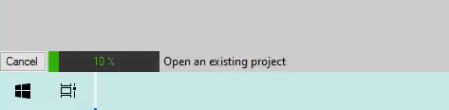
Depending on what checks you set up to run, this could take a while or be done very quickly. Once it has loaded all of the files and run the checks they'll be no more action on the status bar and you can check your designated output folder for the results!