I had this question come up recently and when I did a web search, I couldn't find a comprehensive answer, so I thought that I would write one!
Pros:
- Materials can be applied to the actual objects, so they display correctly with perspective
- If objects move/change, then the rendering will automatically change, too. You don’t have to export and redo all the Photoshop work
- You can turn on shadows and lighting and they are accurate and change as your design changes.
- You can easily add in images (murals, flat artwork, TV screens, etc.) and scale/perspective them and they will appear in any view where you would see them (and you can swap it out very easily if desired)
- Steep learning curve, can take some time to learn how to get things “right”
- There’s not a good formula for what will always work, BUT there are some general rules that you can start off with
- Easy to get distracted by the small things and spend too much time trying to make it work in Revit (most Revit users are guilty of this one)
Here are a few images of a "quick and dirty" rendering, to give you an idea of what Revit can do. All these were produced in a half hour (minus the designation of materials and such). I've included the options window with each, as reference.
[caption id="attachment_27761" align="alignnone" width="1024"]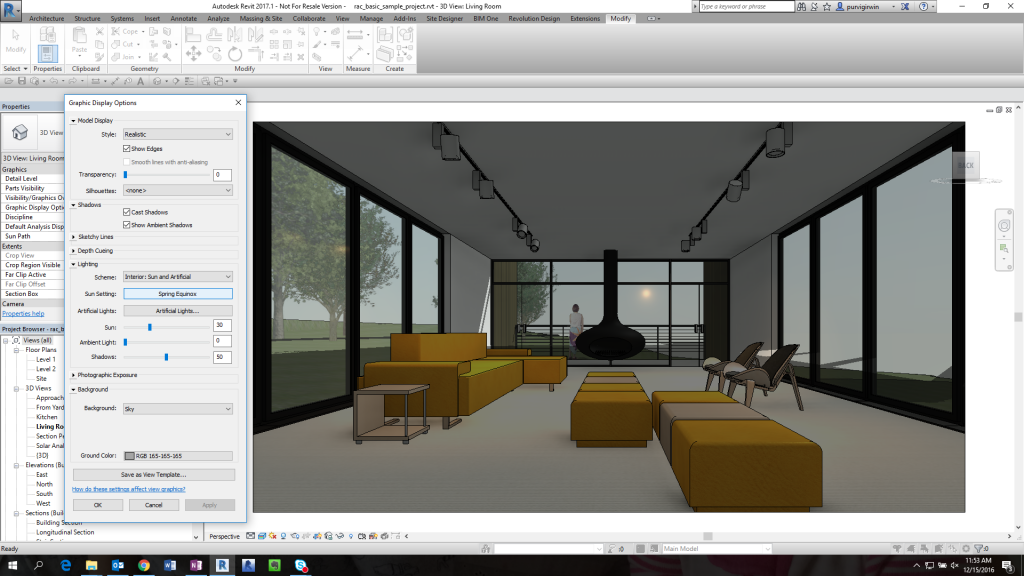 Realistic mode[/caption]
[caption id="attachment_27762" align="alignnone" width="1024"]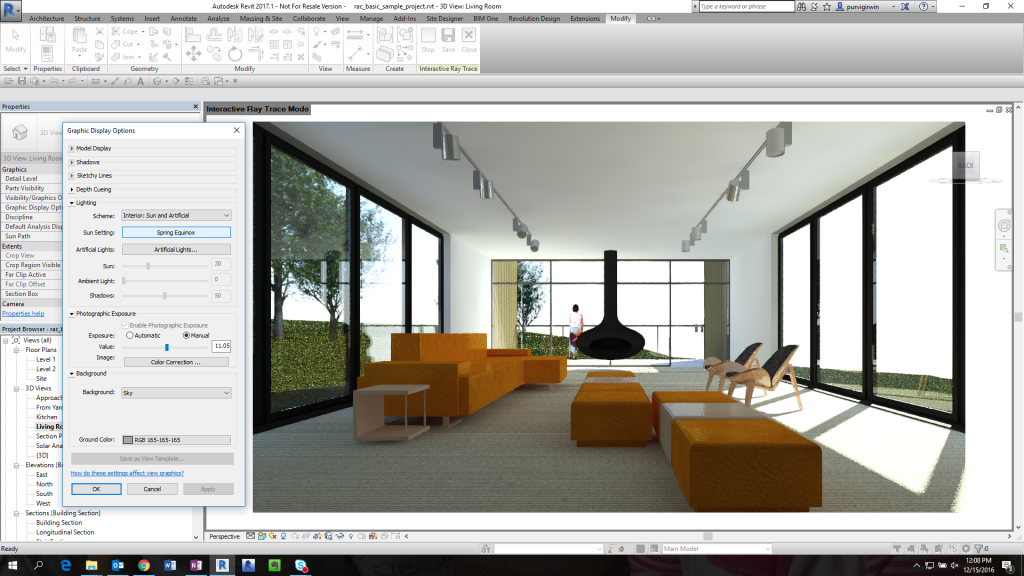 Raytrace (interactive rendering) mode[/caption]
[caption id="" align="alignnone" width="1024"] Rendering within Revit - medium quality - took about 1.5 minutes to complete the render[/caption]
Lastly, here's a quick cloud render.
[caption id="attachment_27767" align="alignnone" width="300"]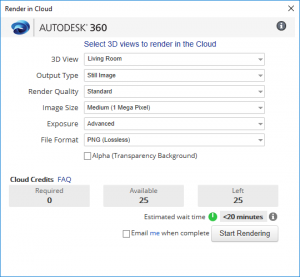 Cloud Render Settings - these are the defaults, I didn't change anything.[/caption]
[caption id="attachment_27766" align="alignnone" width="1000"]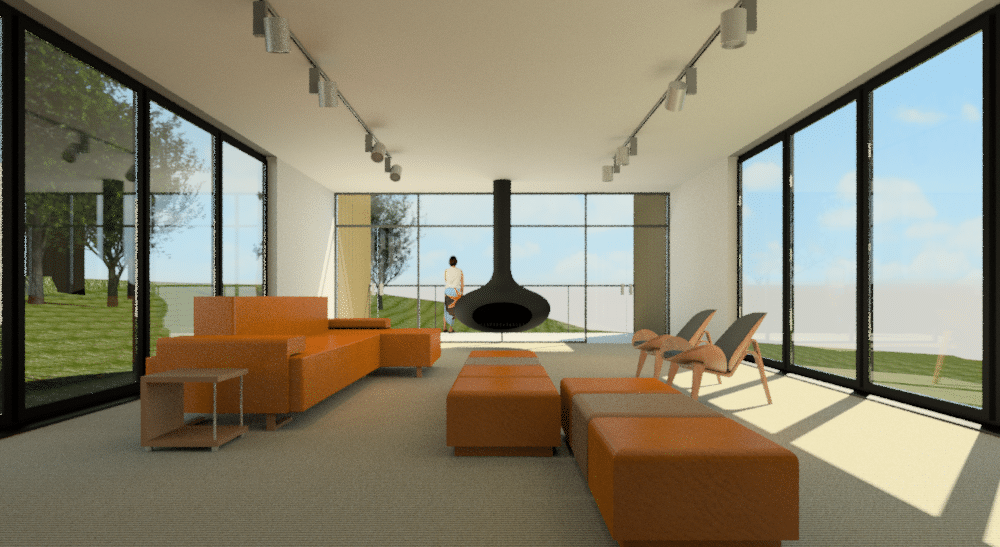 And this is a quick cloud render - less than 4 minutes from clicking ok, to downloading the image.[/caption]
As you can see, you can get something pretty decent without too much effort....with the big caveat that the effort really comes in making sure that you've assigned the right materials and made the lights actually "work."