Part 3
We continue to crack the cornucopia of Revit delights with the blog series, 100 Things Every Revit User Should Know – Part 3! Click here to take a peek at the other parts in this series for additional nuggets of Revit wisdom.Don't let it get drafty - close those windows!
Use your Close Hidden Windows button frequently to shut down all those randomly open views you cracked open "just for a second." Your computer's RAM will thank you.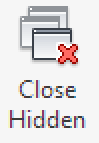
Use your Thin Lines
Revit is close to a WYSIWYP (What You See Is What You Print) environment, and that means line thicknesses. Sometimes that fat lineweight 5 gets in the way of your precise detail linework. Hit the Thin Lines toggle (TL) to shrink all your lines down to 1 pixel and see where things are easier. Don't worry, it won't print that way even if you leave it on.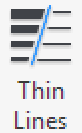
Mirror, mirror on the wall
Watch out what you mirror. You are literally flipping something. Sometimes, this doesn't matter, like for walls. But other elements, specifically MEP elements with connectors should not be mirrored. You are flipping the side those connectors are on and that can really cause issues.Should that really be a Detail Group?
I have seen Detail Groups murder models. I have heard stories from others who have seen the same. I don't know why they do, but I am extremely reluctant to use them. Creating something as a Detail Component might seem like it's extra effort, but try getting a model from the backup and telling your users they lost a day's worth of work. Detail Components are cleaner, lighter and can be easily reused. It's time to start using them!
Hiding elements
Revit has tools to temporarily hide things. While nothing is really permanent (whoa, that got deep) the specifically designed temporary hide functionality is a great tool with a great visual reminder that your view is not exactly how it looks.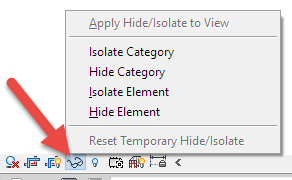
Section tag callout size vs view size
When you first cut a section, the callout size equals the size of the view, but you can always go back and "tweak" the callout line without impacting the view size.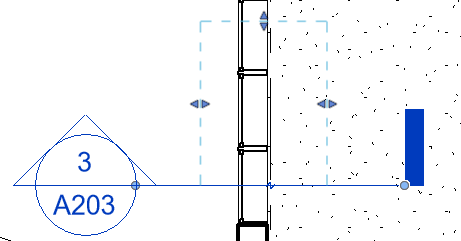
Model Lines and Detail Lines
You place Model Lines and Detail Lines in the exact same way. Remember that Model Lines are model elements and show up everywhere; Detail Lines are annotation and are view specific. Know where you want one versus another. Luckily, if you use the wrong type, you can use the Convert Lines button to swap between the two versions.
3D vs 2D on your datum lines
Your model's datum elements (Grids, Levels) have a 3D and 2D toggle at each of their ends. The nomenclature is... challenging... but it basically means "Project Wide" for 3D and "View Specific" for 2D, so you can control the extents of their display either for your whole model of just for individual views.
Maximize out your Levels and Grids
Sometimes you start a model and draw your Levels (or Grids) and then you model somewhere "outside" of where you drew them. This means in certain elevations and sections you cannot see the level lines. Using the Maximize 3D Model Extents function will help "stretch" out your Levels and Grids so you can see them throughout your model.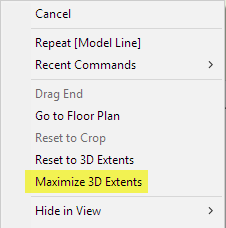
Joining and Unjoining Geometry
Join Geometry is a nifty tool that can help clean up elements that aren't cleaning up correctly. Inversely, sometimes Revit joins elements that you don't want join. Use that Unjoin Geometry tool on those pesky fellas.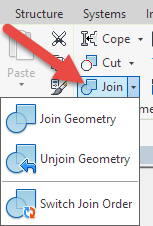
Check back next week for 100 Things Every Revit User Should Know – Part 4!