Autodesk Vault Collaboration AEC is a powerful data management solution specifically designed for design and engineering workgroups. Initially born to sustain Autodesk Inventor and AutoCAD workflows, the 2013 release expands this reach to enable "vaulting" Revit models with worksharing enabled.
Autodesk Vault 2013 Revit Integration Enhancement
Out of the box, the integration between Autodesk Revit 2013 and Autodesk Vault 2013 remains entirely file-based. That is, you go to the Vault to check out a file, and return to check it back in. To bridge this gap, and make it possible to open a "vaulted" Revit model as a Central File, Autodesk has released an Autodesk Subscription Enhancement.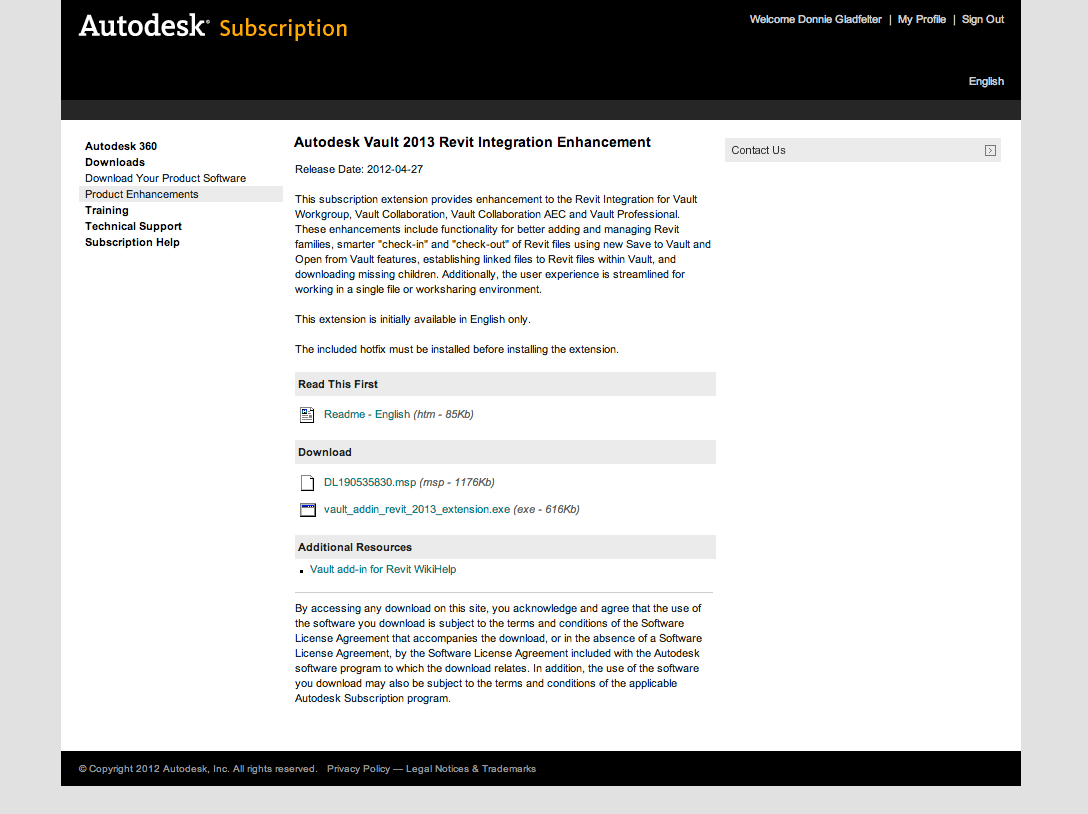
You can find the "Autodesk Vault 2013 Revit Integration Enhancement" download by logging into your Autodesk Subscription Account, and navigating to Downloads > Product Enhancements. In addition to the enhancement itself, you'll need to install a hotfix before the Vault/Revit Extension will let you proceed with its installation.
Neither the necessary hotfix (DL190535830), or the Vault/Revit Extension are available outside the Autodesk Subscription site. For this reason, be sure to download both from the Subscription Center "Autodesk Vault 2013 Revit Integration Enhancement" page. Once downloaded, installation is pretty straightforward. The important thing to remember is hotfix (DL190535830) must be installed before the extension itself can be installed.
Vaulting your Revit Model
The great news about vaulting a Revit model is that it doesn’t require you to work much, if at all, differently than you do now. That’s to say, the relationship between Central and Local files will remain intact. What Vault does is simply integrate with your existing Central file, monitoring it for changes. This link between Vault and your Central file is established through a Mapping function of the aforementioned Vault/Revit extension. To establish this link between Vault and Revit:
- Switch to the Vault tab inside Revit, and Log In if you haven’t already. It’s important to note that while all users can utilize Vault Mappings, only Administrators can create them. Therefore, only Administrators will be able to create the Mapping outlined below.
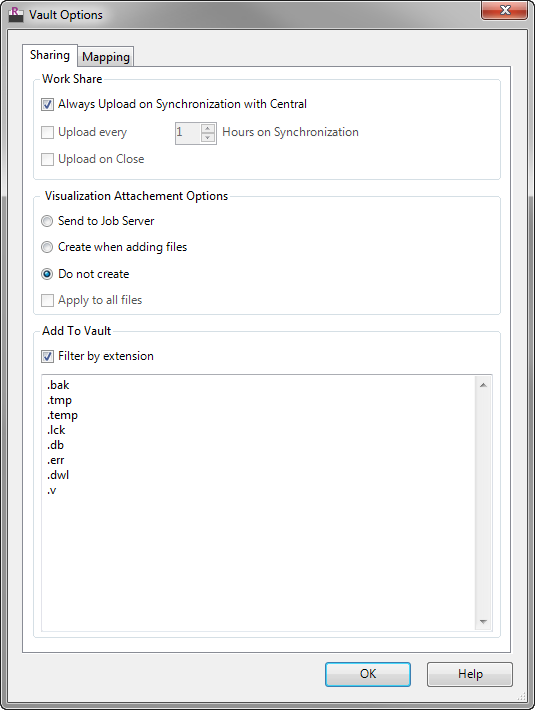
- Click the Options button on the Vault Ribbon, and choose Always Upload on Synchronization with Central on the Sharing tab of the Vault Options dialog.
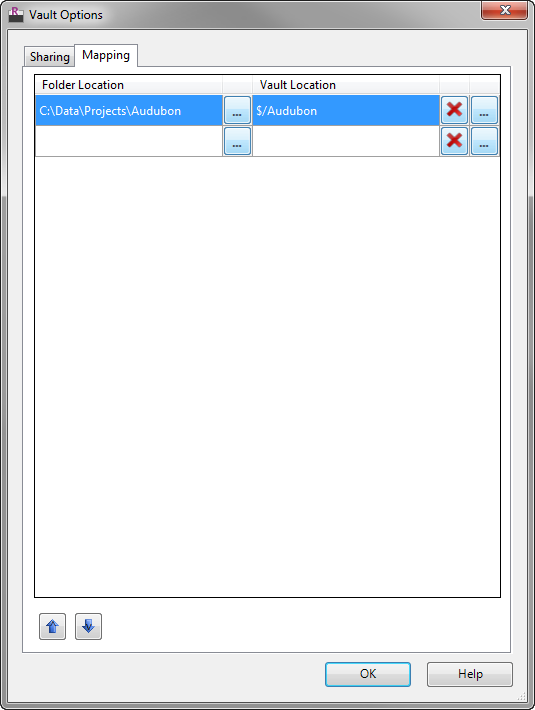
- Switch to the Mapping tab of the Vault Options dialog; select the project directory that contains your Central file on the left, and the corresponding Vault project on the right.Notice, while this procedure will still work if you select the Model directory, Vault is smart enough to track down your model within the overall Project directory. Thus, although my directory structure is such that each discipline is in its own Model directory, this Mapping configuration will work for any model throughout the project.
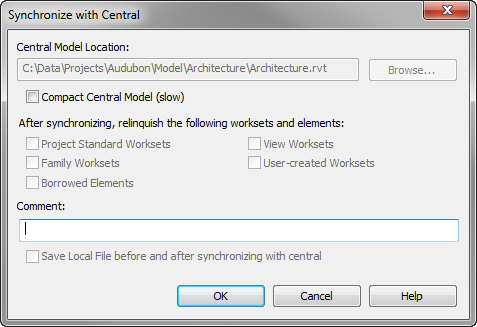
- Synchronize with Central after creating the Vault Mapping. This will open the Synchronize with Central dialog where you can click OK to both Sync and Vault your Revit model.
 After synchronizing with Central, Revit will also Vault your Revit model.