Teams needing an efficient way to collaborate on workshared models are choosingBIM 360Design (formerly Collaboration for Revit) for their projects. Regardless of geography,BIM 360Design allows multi-disciplinary project teams to collaborate in real-time. Not only does this enable teams to collaborate in real-time, it also eliminates the need for individual teams to publish and reconcile models by uploading weekly model snapshots.
Although the benefits ofBIM 360Design are undeniable, setting everything up requires more steps than some expect. Unique toBIM 360Design is its status as both aBIM 360service and individually licensed product. Because of this status,BIM 360Design requires a two-part setup process.
Process Overview
This two-step process includes enabling the Design Collaboration service within theBIM 360project, and secondly assigning a license within the Autodesk Account portal. Unlike otherBIM 360services, enabling the Design Collaboration service for a project team member does not grant access toBIM 360Design.
Enabling Design Collaboration for a project only grants permission to useBIM 360Design on that project.BIM 360Design is a bring your own license product. For this reason, the project-based permission must be paired with a license managed through the Autodesk Account portal.
Both the license and project-based permissions are required forBIM 360to work. The process to accomplish both of these tasks is outlined below.
Part 1: Enable Design Collaboration for Project
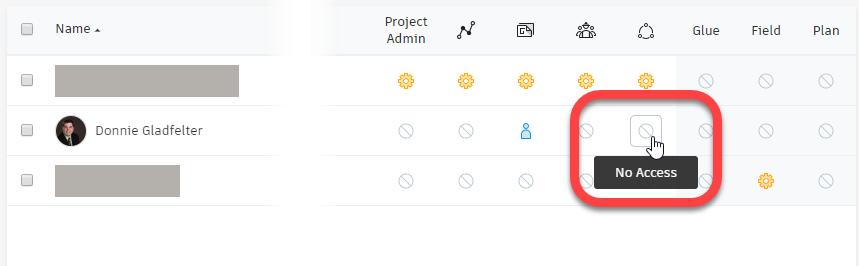
The first part of theBIM 360setup process aligns with the setup of otherBIM 360services. Specifically, the Design Collaboration service is the project setting forBIM 360Design. As a project setting, aBIM 360project administrator must enable the Design Collaboration service.
To achieve this, complete the following steps as aBIM 360project administrator:
- Visit theBIM 360Administration Portal at https://admin.b360.autodesk.com
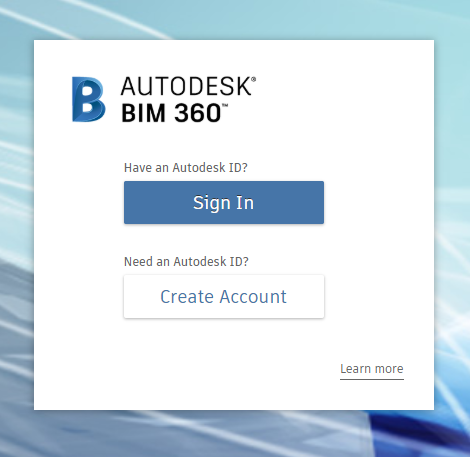
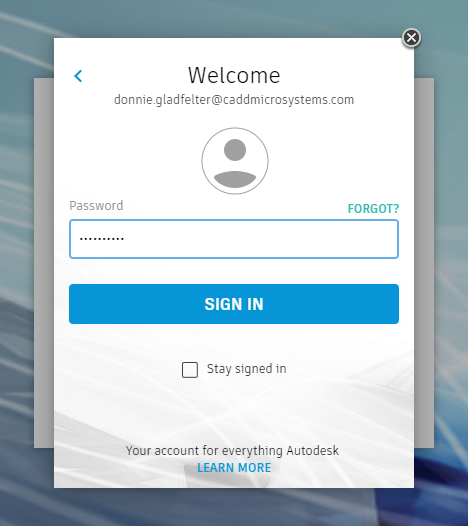
- Click Sign In, and then enter your Autodesk ID (typically your email address) and password.
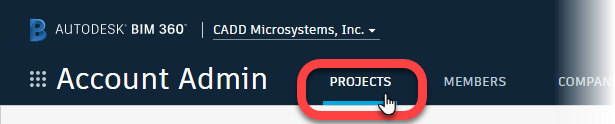
- Choose Projects from the Account Admin menu.
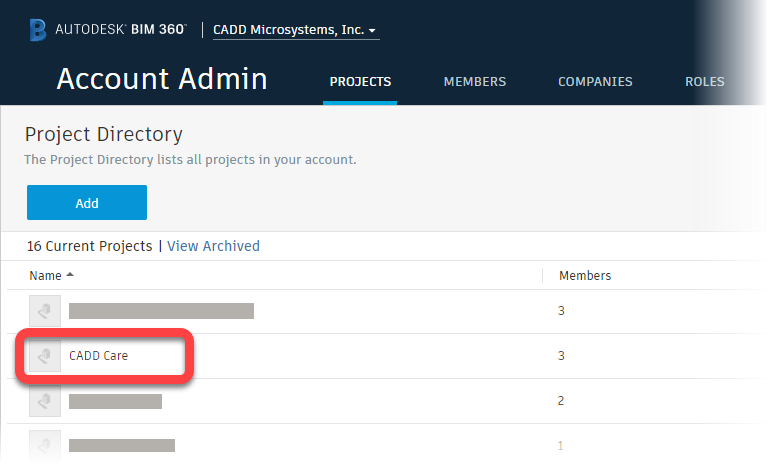
- Select an existing project or create a new one.
- Choose Members from the Project Admin menu.
- Click the Design Collaboration icon to enable it for the selected user. The Design Collaboration icon changes from
 to
to  .
.
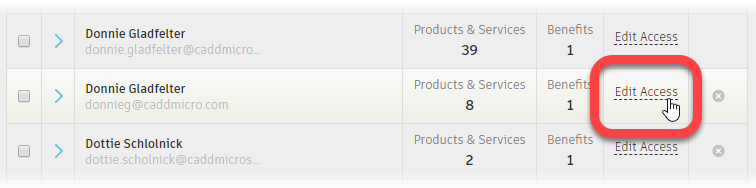
Part 2: AssignBIM 360Design to User
BIM 360 Design is offered only as a single-user subscription. Because of this status, a second step is necessary to complete the setup process. Like assigning access to a single-user subscription to Revit, only a Contract Administrator or Software Coordinator can assign aBIM 360Design license to users.
Contract Administrators and Software Coordinators can achieve this by completing the following steps:
- Visit the Autodesk Account portal at https://manage.autodesk.com
- Choose User Management from the menu along the left side of the portal.

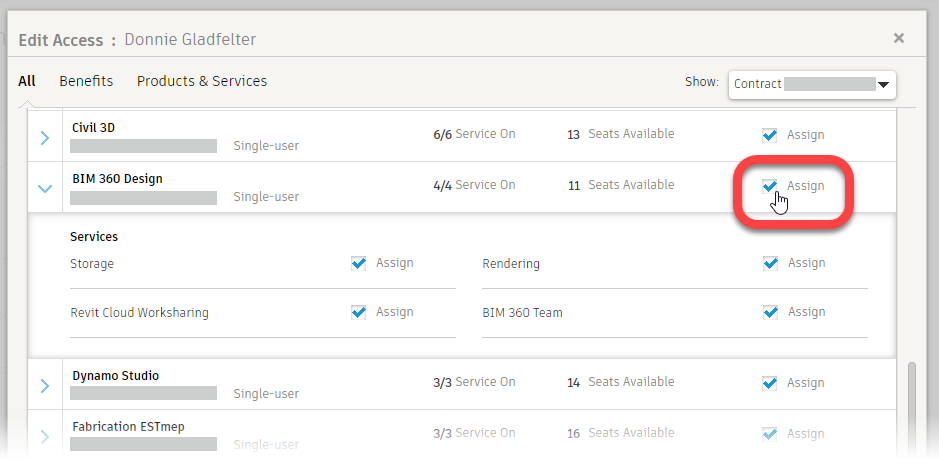
- Locate the user whose account you wish to assign aBIM 360Design license to. Click Edit Access.
- LocateBIM 360Design from the list of Products. Check the Assign checkbox.
With both a license and Design Collaboration project permission in place, users should now be able to fully leverage everythingBIM 360Design has to offer project teams. Of course, our CADD Care team is here to help should you encounter any further issues setting up BIM 360.
Finally, are you usingBIM 360Design on your projects? Let us know about your experience in the comments below.