Bluebeam is moving to a named-user subscription model, which provides dedicated access for users, and simplified license management. Whether you are new to Bluebeam or converting to subscription licenses, you will follow set up your users and manage licenses in the Org Admin Portal.
The Bluebeam Org Admin Portal, which is replacing the Gateway License Portal, enables admins to manage subscription seats and add/remove/assign users and admins. At CADD, our goal is to take the guesswork out of learning a new system and help you get started with your Bluebeam Revu licenses right away. We have provided the steps you need to follow below, as well as links to information we find helpful for the steps.
If you are converting your perpetual Revu 20 licenses to Revu 21 you will need to convert your licenses using the self-upgrade tool before gaining access to the Org Admin Portal. Check out our post on how to use the self-upgrade tool: Converting from Bluebeam Revu 20 to Revu 21. Customers with open or enterprise licenses should speak with their sales rep to convert/upgrade.
Set up your Org Admin Portal
Register the Org Admin Account
- Check your email for the Bluebeam Invite to Register
- Click Accept Invitation
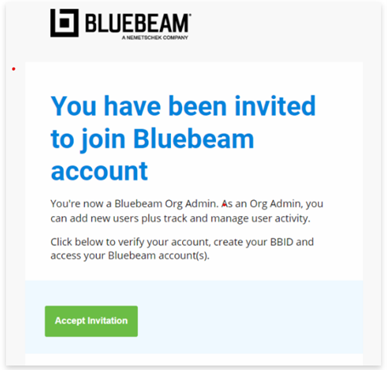
- Complete the form, fill out all required details, and click Finalize
- Note: If you have never had a Bluebeam ID, check your email for a confirmation email to verify your account
- Check your email for your Bluebeam Org Admin Access and click Get Started
- Sign in with your new Bluebeam ID
- Select the applicable server
- You can now access the Bluebeam Org Admin Portal
Add users and assign access
You can add users individually or bulk upload users using a .CSV file. We outline both below so you can choose the best option for your company. If you plan to implement SSO, you may want to delay adding users to your license until after you’ve completed the SSO configuration process. Otherwise, users will receive emails guiding them to create a Bluebeam ID (if they don’t already have one). Once SSO is implemented, they'll log in with their SSO credentials and abandon their previous BBID credentials. Check out our blog to learn more about Single Sign-On: Single Sign-On for Bluebeam is Here!- Select Account Administration -> Users & Product Tier Management
- Click Create New Subscription User
- Complete required fields* or select Bulk Add Users and follow the instructions (see below)
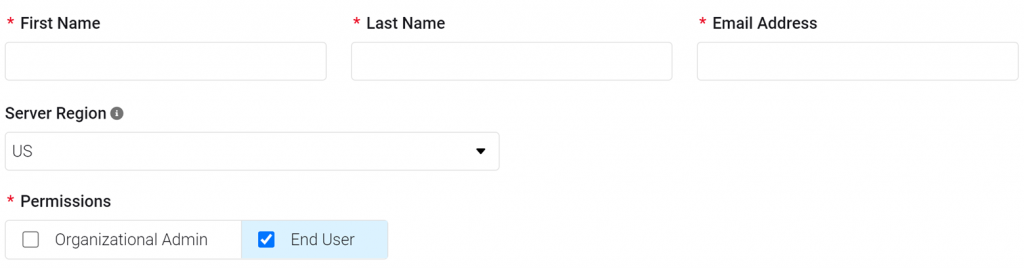
- Click Save (the Select a Product Tier dialogue will appear)
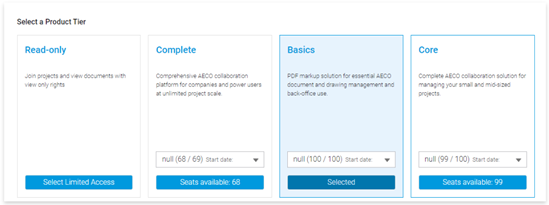
- Grant your user access to the available, desired, license and click Save Changes
Bulk add users by importing a .CSV file
Admins can bulk add up to 50 users at a time using a CSV file- Account Administration > Users & Product Tier Management > Create New Subscription User
- Select the Bulk Add Users tab
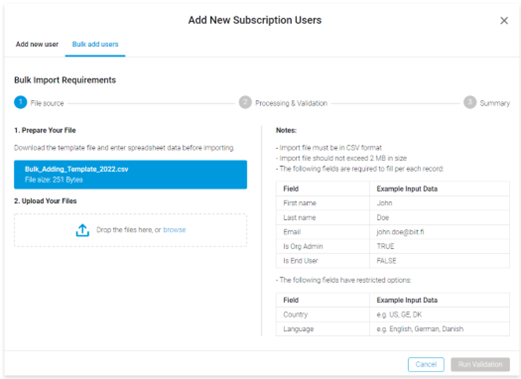
- Download the provided template
- Add user information
- Save the file to .CSV format
- Upload the .CSV file under Upload Your Files
- Select Run Validation
- Review any errors if found
- Select Import All once complete
- Review the summary and Close
Download Revu
EXE Files for Individual Installation
- Go to the Bluebeam Download Center
- Under the Get the latest version of Revu section, click Download 21.
.MSI Files for Network Deployments and Silent Installations
- Go to the Bluebeam® Revu® 21 Deployment Guide
- Locate the Download Deployment Packages (MSI) Section
- Download the .MSI
Install Revu for Individuals
- Download the installer from https://www.bluebeam.com/download
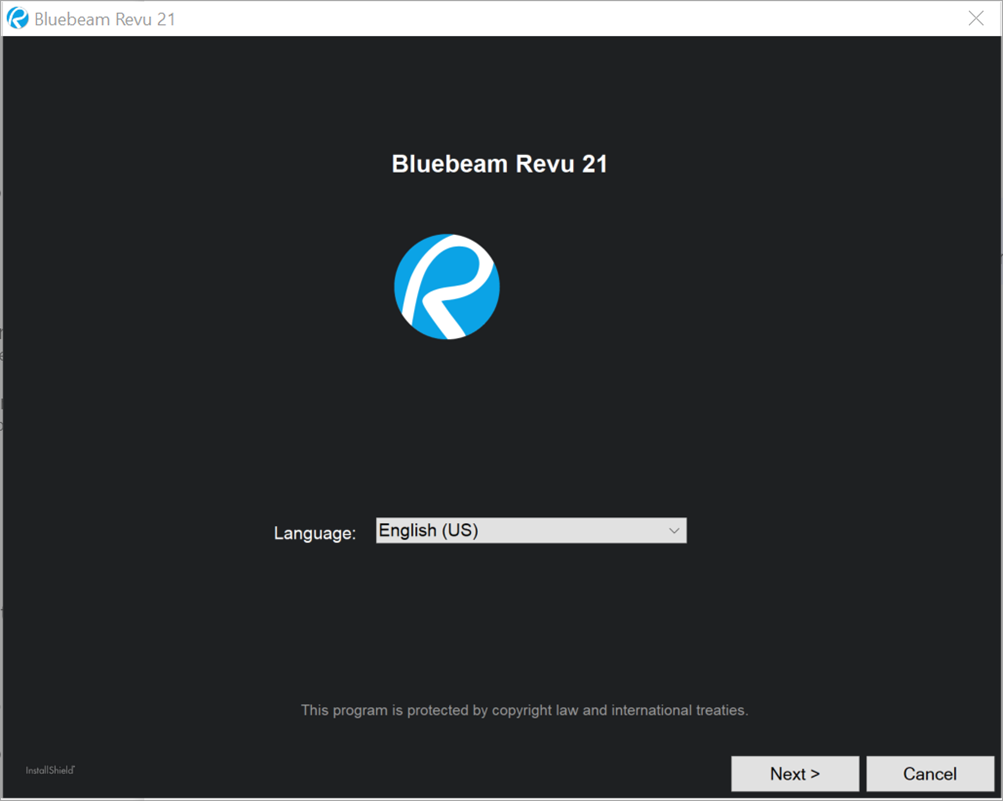
- Double-click the newly downloaded .exe file to launch the installation wizard
- Select your Language > Next
- Select Side-by-Side (if you want to keep Revu 20) or Upgrade (if you no longer need Revu 20)

- The installer will begin and show a progress bar
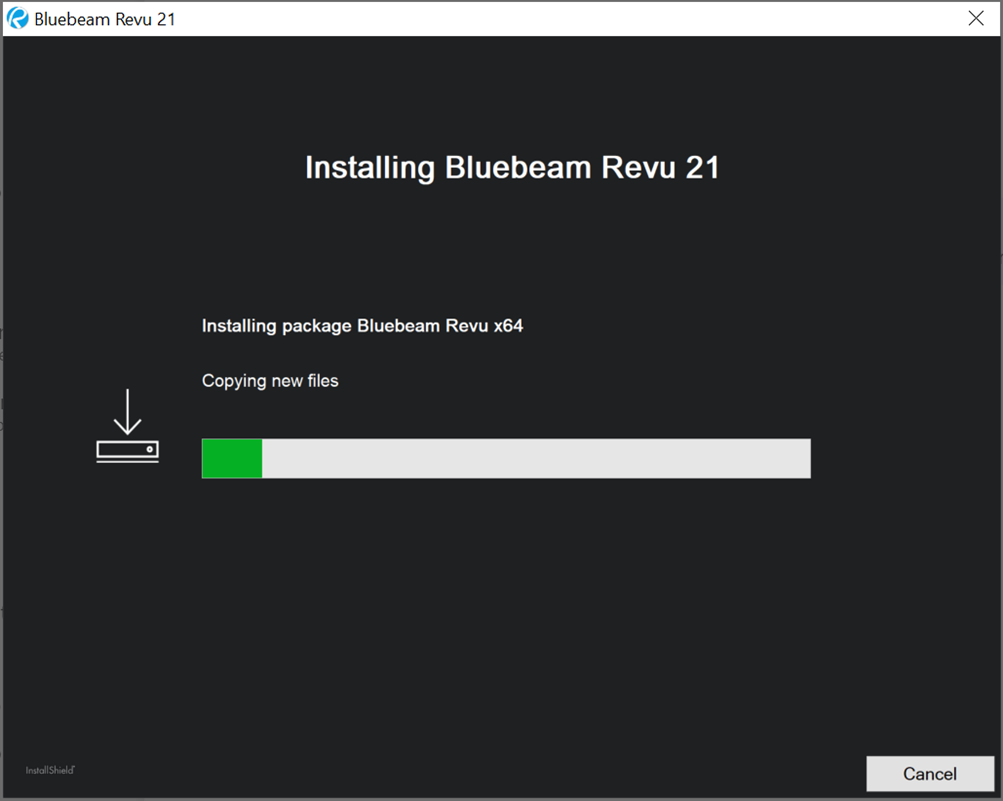
- After the installer completes, select Finish
- Launch Revu 21
- Sign in with your Bluebeam ID to activate and use the software
Deploy Revu for Organizations
Bookmark and follow the instructions in the Bluebeam® Revu® 21 Deployment GuideWe are here to support you with your new Bluebeam licenses and all your business needs. Please contact us and let us know if there is a way CADD Microsystems can ensure you, your team, and your projects are successful.